Thursday, October 23, 2014

DIY Double Holiday Pillows

If you're like us, you feel like buying and/or making new decorations for every single holiday gets kind of expensive.  Sometimes you just want an easy transition from holiday to holiday.  So, today we have a tutorial on how to make these cute pillows!


The beauty of these is the fact that you can use them all throughout fall!  You can use them before Halloween, (we're a little too late for that, obviously..) during Halloween, and through Thanksgiving if you wanted to.  They're super easy, and inexpensive (especially if you have any fabric laying around).  One side is for fall/Thanksgiving...flip it over and you've got Halloween!


What you'll need:

- Fabric for the large pillow (I used burlap and had them cut 20" for my 18" pillow) 
     *Make sure you choose a fabric that would work for both fall and Halloween.
     *If you choose to work with burlap, a serger is recommended because it frays and sheds like crazy!
- 6 fat quarters for the other 3 pillows (3 Halloween prints and 3 fall) 
- Pillow inserts or any old pillow that is lying around.  
     *I like to use the same pillows and cover them for different times of the year. 


What you do:

Be sure to iron your fabric before you cut (everything but the burlap).

Measure pillow, then cut according to the size of your pillow :)

For example....if it is a 14" pillow, you would:

- Cut your fabric into one 14"x14" square and for the other side cut 14"x18" (just add 4" to one side to allow for the overlap, no matter what size pillow)
- You will then cut the bigger piece (in this case, 14"x18") in half so you have 2 pieces. (14"x9")
     *If you don't have a serger, you might want to use pinking shears or a zig zag rotary cutter to prevent fraying. 


If you do have a serger, take the 14"x9" pieces and serge along the 14" edge (one edge on each piece) and then fold that edge over slightly more than 1/4" and press.


If you don't have a serger, create a rolled edge by folding the 14" edge over 1/4" and press and then roll that same edge over again 1/4" and press.  This will prevent the pillow from fraying.


Sew along the pressed edge with a 1/4" seam (right along the edge of the presser foot)


For your larger pieces, If you do have a serger, serge around all 4 edges to prevent fraying.
If you don't have a serger, use "Fray Check" around the edges.

Next, lay out your 14"x14" square right side up and lay your two 14"x9" pieces on top, right sides face down.  You will line up the raw edges and overlap the pressed/serged edges. Pin. Sew 1/4" seam (along the edge of the presser foot) around the entire pillow.  


Next, turn your pillow right side out.  Use your finger to poke the corners out and along the edge to even out the fabric.  Press the pillow so you have nice crisp edges.  


Now, get your pillow or pillow insert and stuff it in. Be gentle so you don't rip any seams and work with it a bit to get a nice snug fit. 

You can also add buttons to them to jazz it up a bit.  


You can tie some jute or twine or whatever you want in each button to give it some dimension.  Then all you have to do is hot glue them on!


Now go and get some fabric and make some of these adorable pillows!  Halloween is only a week away!

Tuesday, September 9, 2014

Ice Cream Bars

What we're about to share with you will change your life forever.

THESE.


You know those ice cream bars at the store that seem way too expensive every time you buy them?  Well now you can make your own instead of buying them...and these are WAY more fun.

What you need:
-box of ice cream (no tubs or anything rounded....only the square box)
-popsicle sticks
-Lyons cone coat
-toppings (peanuts, Rice Krispies, sprinkles, etc.)
-plastic bags

The most expensive part of this is definitely the chocolate....but you really can't use any substitutes.  You can get it at Orson Gygi.  Get to their website by clicking here.


Gather up some toppings and put them on some fancy plates.


To make the ice cream bars, this is the type of ice cream you need...
It's the only one I could find that comes in a square container.


Once you open it, you'll need to cut & divide the ice cream into the size you want...I want to say we had 16.  You'll need to work fast so the ice cream doesn't melt.  Once you have them cut out, stick a popsicle stick in each square, and put them each in a little plastic bag.  Keep them in the freezer (obviously) until you're ready to use them.

To coat the ice cream, you'll need to melt down the chocolate.  We used a mason mar, and heated it in a pan of boiling water.


Once it's melted, you dip the ice cream into the chocolate....


Like this....


And quickly coat it with your topping of choice!


You'll probably need to give everyone a paper plate because these are messy, but so good!


These are a hit!  Go make yourself some!

Tuesday, August 12, 2014

Enjoy Cousin Camp

Guys, summer is not over!  There's still time to get all your kids and their cousins together for Cousin Camp 2014!

Every year, we get together and have a 3 day extravaganza with our family (most the activities are for the kids) and it is an absolute blast!

We always order shirts for everyone and the past few years we've been designing our own.  This year is our best yet...the theme is "Enjoy Cousin Camp."
We have our design in our Etsy shop you can buy for $15.  (just the design..not an actual shirt)  You can get to our shop here.

Here's a schedule we made up for our 3 day event...you can use our ideas if you want or you can do whatever you want!


We started out by going to a movie at the Centerville Megaplex for one of their summer movies.  They also have free kids movies at Kaysville theater a few times during the summer. 
Don't they look so cute with their matching shirts?


If your movie is cheap, you can spend big on the popcorn and Coke.  Especially wearing a Coke shirt.


The next day everyone went to Cherry Hill (it's cheaper after 4...and even cheaper after 6:30) and we had a blast!  If you go during the week and at night, it's not too busy.


We also went to the Tracy Aviary...if you're into birds, you should go check it out.  If it's 100 degrees outside and you've got a bunch of kids, we might suggest skipping this event.


The outing that was the most fun was by far Get Air.  If you've ever been there to watch your kids jump around, loosen up, get out there and jump yourself!  You won't regret it.


Along with these events, we spent a lot of time hanging out playing in the water in the backyard and just hanging out in these awesome shirts.  

Now go start planning for Cousin Camp!  Tag us on Instagram @sugarsistersdesign with your ideas and outings!

Enjoy!

Thursday, July 24, 2014

DIY Pioneer Games

Excuse our explosion of 24th of July posts, but this is our finale!
We know it's a little late, but here are a couple pioneer games for boys in case they were feeling a little left out from the dolls for the girls.  You still have the rest of the weekend to whip these out!

The first one is a bean bag toss game...with yourself! :)


Things you'll need:
-a drill
-two paint sticks (super cheap at Walmart)
-two empty tuna cans
-two screws (small enough to not go through both sticks)
-hand saw
-spray paint..optional


First, measure out your paint sticks to 13" and saw off the excess.


You'll then want to drill a hole in the middle of each tuna can before you put the screws in.  


Place your can on the end of BOTH sticks stacked, and then drill in the screw.


Do the same thing on the opposite end and side of the sicks, so that it looks like this.


I didn't have any bean bags, so I just sewed a little 3" square and filled it with dried beans.


To make them a little cuter, you can spray paint them!  How cute are these?


If you haven't seen how these are used, here's a video of my son using it.  He had a blast and played with it for hours. 


The second game we have is the easiest game you'll ever make.  Not that you make that many games, but either way it's incredibly easy.


All you need is:
-bakers twine, or some type of string
-a milk gallon lid
-a drill

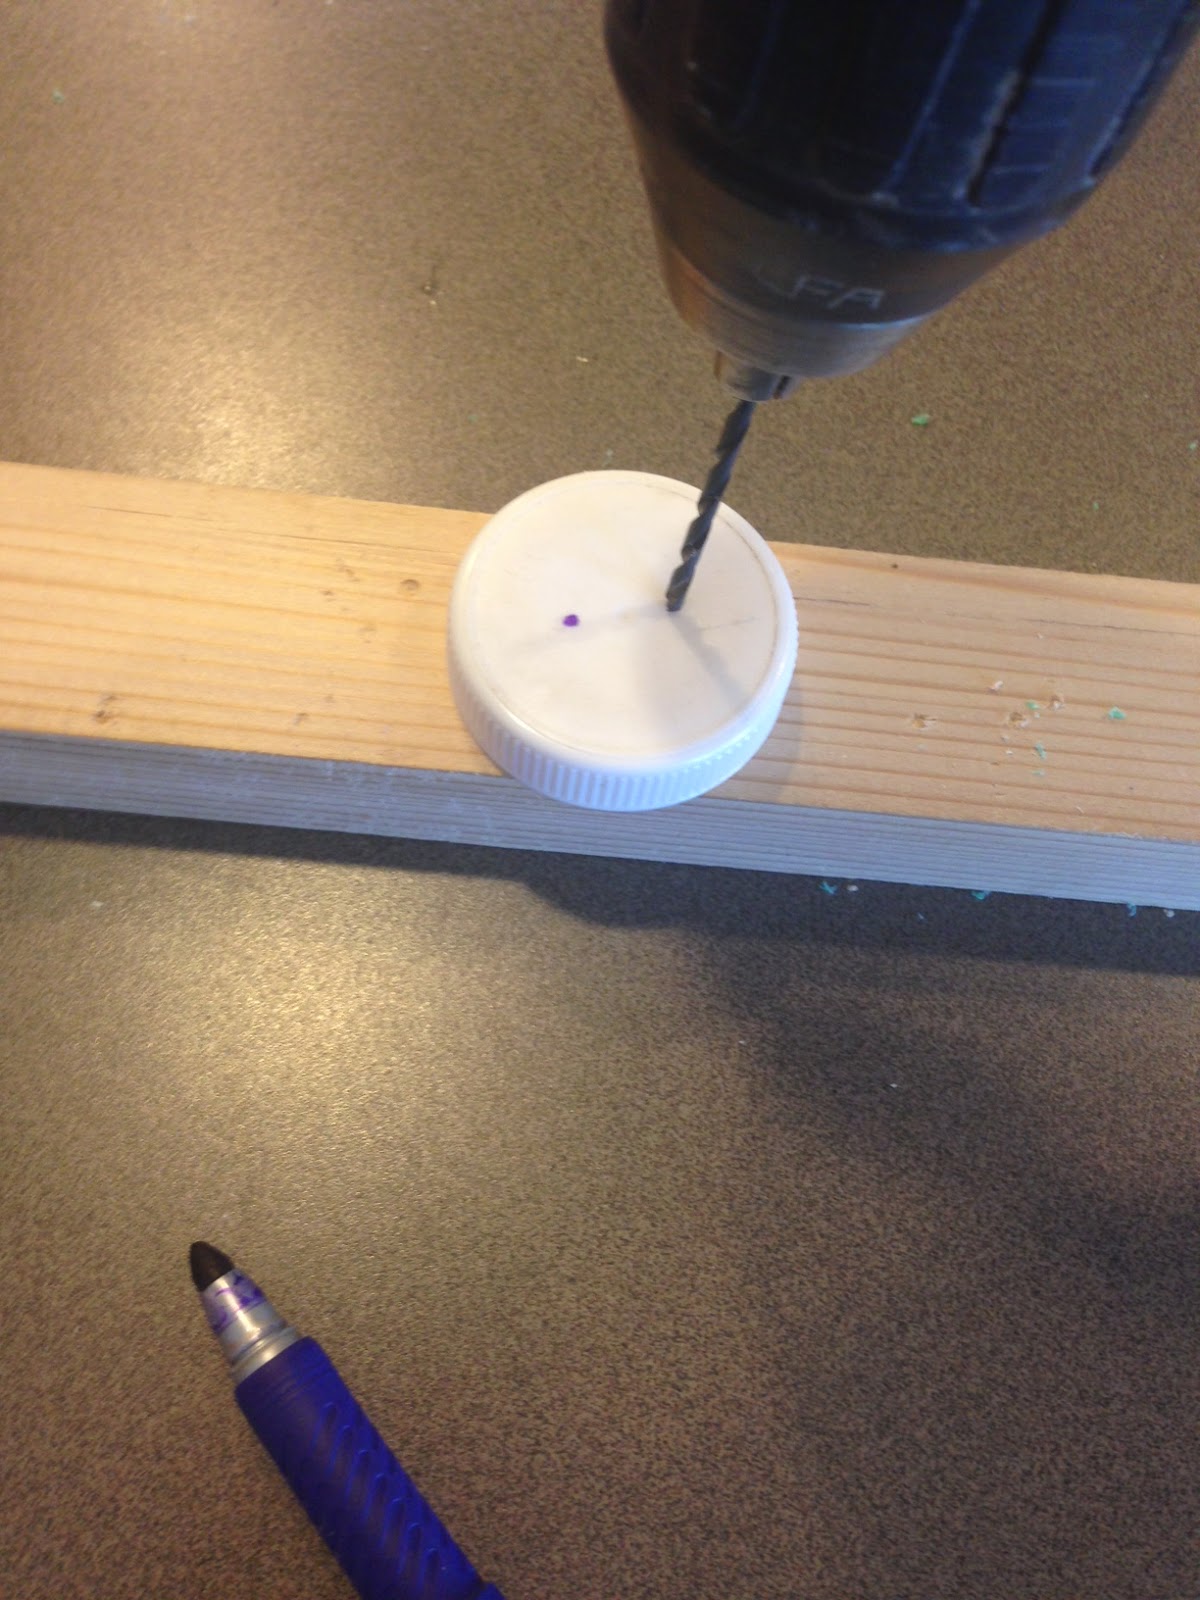
First make a mark on your lid of where you're going to drill two holes.

You can also use a wooden disk if you want to be a real pioneer but if you don't have any or don't want to buy any, just chug some milk and you're good.


Now drill the holes (is this easy enough?)


You'll then cut a piece of string about 36" long, and thread it through both holes.


Tie a knot at the end of your string.


It should end up being about 18" long.


Here's a video of how to use it!

Hope you guys enjoy these games and you've had as much fun as we've had making all these pioneer crafts and delicious donuts!