Tuesday, September 9, 2014

Ice Cream Bars

What we're about to share with you will change your life forever.

THESE.


You know those ice cream bars at the store that seem way too expensive every time you buy them?  Well now you can make your own instead of buying them...and these are WAY more fun.

What you need:
-box of ice cream (no tubs or anything rounded....only the square box)
-popsicle sticks
-Lyons cone coat
-toppings (peanuts, Rice Krispies, sprinkles, etc.)
-plastic bags

The most expensive part of this is definitely the chocolate....but you really can't use any substitutes.  You can get it at Orson Gygi.  Get to their website by clicking here.


Gather up some toppings and put them on some fancy plates.


To make the ice cream bars, this is the type of ice cream you need...
It's the only one I could find that comes in a square container.


Once you open it, you'll need to cut & divide the ice cream into the size you want...I want to say we had 16.  You'll need to work fast so the ice cream doesn't melt.  Once you have them cut out, stick a popsicle stick in each square, and put them each in a little plastic bag.  Keep them in the freezer (obviously) until you're ready to use them.

To coat the ice cream, you'll need to melt down the chocolate.  We used a mason mar, and heated it in a pan of boiling water.


Once it's melted, you dip the ice cream into the chocolate....


Like this....


And quickly coat it with your topping of choice!


You'll probably need to give everyone a paper plate because these are messy, but so good!


These are a hit!  Go make yourself some!

Tuesday, August 12, 2014

Enjoy Cousin Camp

Guys, summer is not over!  There's still time to get all your kids and their cousins together for Cousin Camp 2014!

Every year, we get together and have a 3 day extravaganza with our family (most the activities are for the kids) and it is an absolute blast!

We always order shirts for everyone and the past few years we've been designing our own.  This year is our best yet...the theme is "Enjoy Cousin Camp."
We have our design in our Etsy shop you can buy for $15.  (just the design..not an actual shirt)  You can get to our shop here.

Here's a schedule we made up for our 3 day event...you can use our ideas if you want or you can do whatever you want!


We started out by going to a movie at the Centerville Megaplex for one of their summer movies.  They also have free kids movies at Kaysville theater a few times during the summer. 
Don't they look so cute with their matching shirts?


If your movie is cheap, you can spend big on the popcorn and Coke.  Especially wearing a Coke shirt.


The next day everyone went to Cherry Hill (it's cheaper after 4...and even cheaper after 6:30) and we had a blast!  If you go during the week and at night, it's not too busy.


We also went to the Tracy Aviary...if you're into birds, you should go check it out.  If it's 100 degrees outside and you've got a bunch of kids, we might suggest skipping this event.


The outing that was the most fun was by far Get Air.  If you've ever been there to watch your kids jump around, loosen up, get out there and jump yourself!  You won't regret it.


Along with these events, we spent a lot of time hanging out playing in the water in the backyard and just hanging out in these awesome shirts.  

Now go start planning for Cousin Camp!  Tag us on Instagram @sugarsistersdesign with your ideas and outings!

Enjoy!

Thursday, July 24, 2014

DIY Pioneer Games

Excuse our explosion of 24th of July posts, but this is our finale!
We know it's a little late, but here are a couple pioneer games for boys in case they were feeling a little left out from the dolls for the girls.  You still have the rest of the weekend to whip these out!

The first one is a bean bag toss game...with yourself! :)


Things you'll need:
-a drill
-two paint sticks (super cheap at Walmart)
-two empty tuna cans
-two screws (small enough to not go through both sticks)
-hand saw
-spray paint..optional


First, measure out your paint sticks to 13" and saw off the excess.


You'll then want to drill a hole in the middle of each tuna can before you put the screws in.  


Place your can on the end of BOTH sticks stacked, and then drill in the screw.


Do the same thing on the opposite end and side of the sicks, so that it looks like this.


I didn't have any bean bags, so I just sewed a little 3" square and filled it with dried beans.


To make them a little cuter, you can spray paint them!  How cute are these?


If you haven't seen how these are used, here's a video of my son using it.  He had a blast and played with it for hours. 


The second game we have is the easiest game you'll ever make.  Not that you make that many games, but either way it's incredibly easy.


All you need is:
-bakers twine, or some type of string
-a milk gallon lid
-a drill

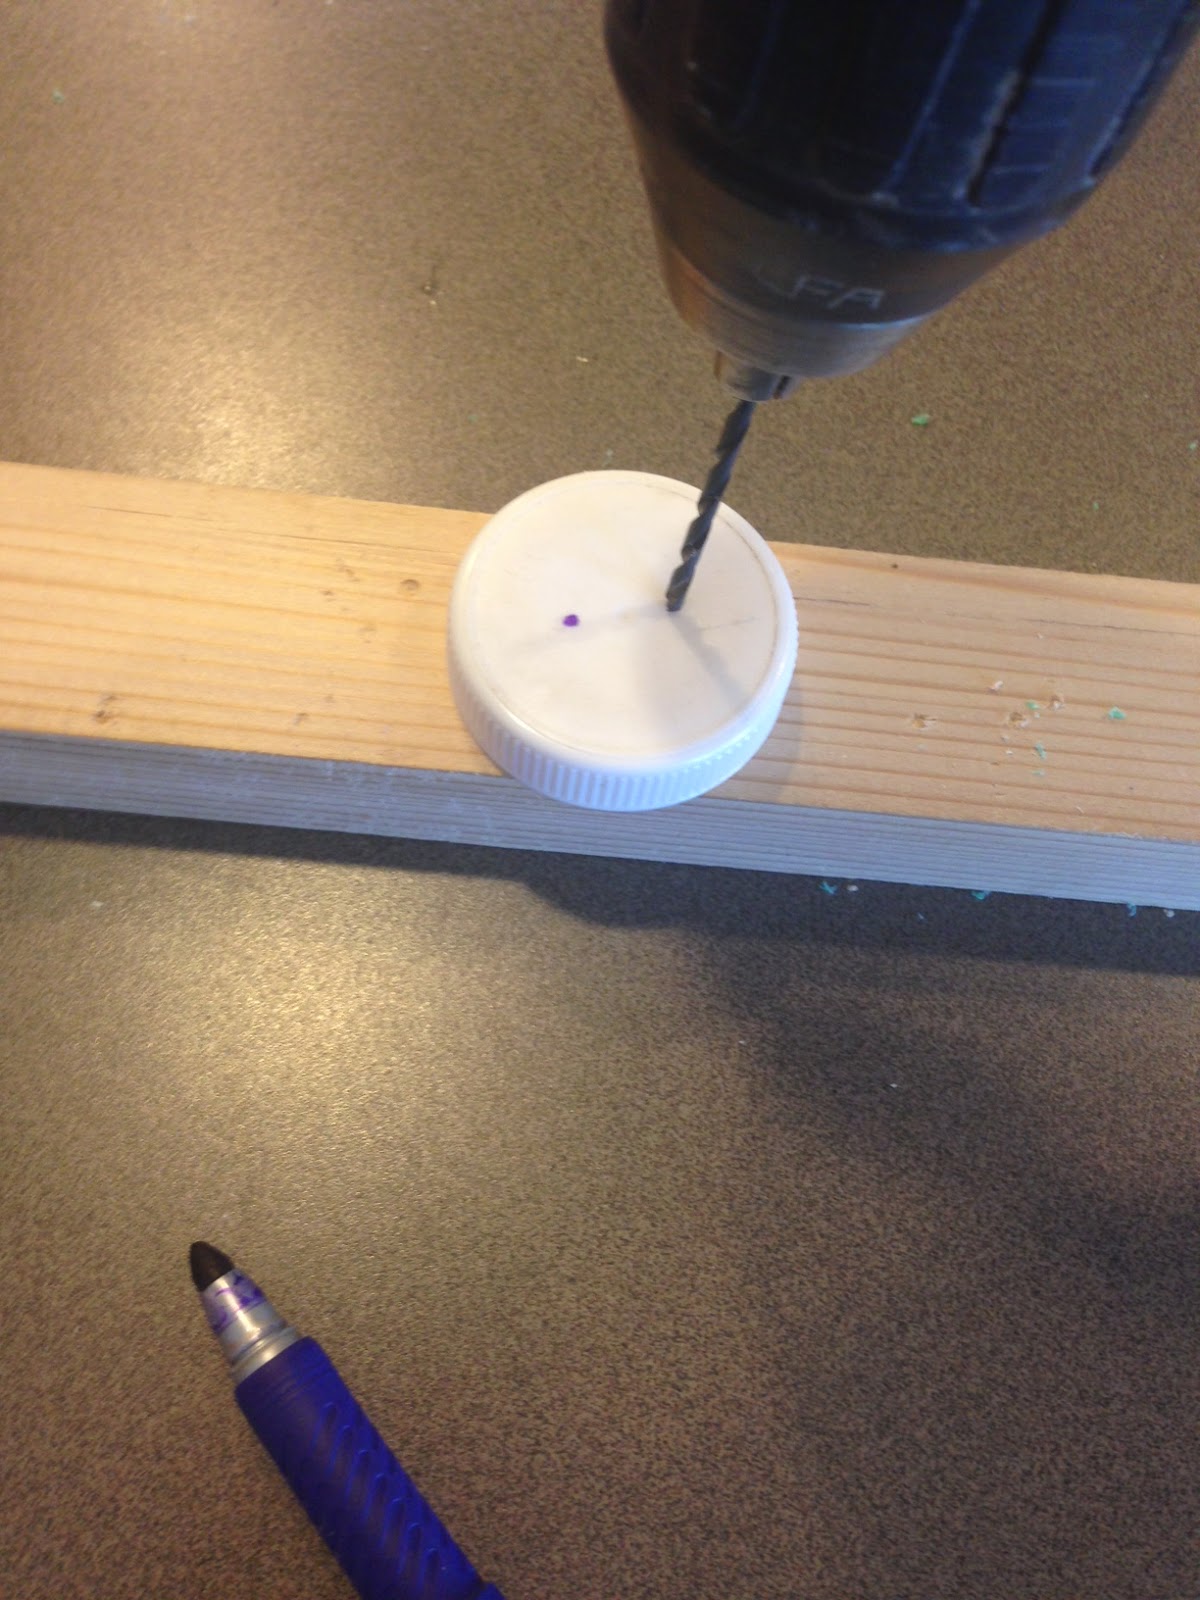
First make a mark on your lid of where you're going to drill two holes.

You can also use a wooden disk if you want to be a real pioneer but if you don't have any or don't want to buy any, just chug some milk and you're good.


Now drill the holes (is this easy enough?)


You'll then cut a piece of string about 36" long, and thread it through both holes.


Tie a knot at the end of your string.


It should end up being about 18" long.


Here's a video of how to use it!

Hope you guys enjoy these games and you've had as much fun as we've had making all these pioneer crafts and delicious donuts!

Brigham Young Doughnuts

Did you know Brigham Young used to eat donuts for breakfast?  Not the typical pioneer breakfast, right?  We think you should follow his example and make some in honor of him today.  Because who doesn't love a good donut?
Turns out his recipe has been passed down through generations and the Lion House released the recipe in the Salt Lake Tribune about 5 years ago.  You can read the article here. They are the easiest donuts you'll ever make!  There's no better way to celebrate the 24th of July than having some of Brigham Young's donuts for breakfast (or lunch...or for a snack, or dinner).


You'll need:
5 1/2 cups flour
2 tsp baking soda
1 tsp salt
1 1/2 tsp ground nutmeg
2 cups buttermilk
2 large eggs
1 1/4 cups sugar
6 Tbs. butter, melted
Oil for frying


In a medium bowl, stir together flour, baking soda, salt and nutmeg.

In another large bowl, whisk together buttermilk, eggs and sugar.  Add melted butter to liquid mixture and whisk again.

If you're like us and didn't have buttermilk, you can make your own if you have milk and lemon juice!  You just need 1 Tbs lemon juice for every cup of milk.  To make sure you don't end up with extra liquid, make sure you put the 2 Tbs lemon juice in your measuring cup before you measure the milk.  We did this before we started, because after you combine them, it needs to sit for 10 minutes.


Add dry ingredients to the wet mixture and gently stir together with a spoon.  Do not use the electric mixer.


Dough will be sticky.  Let it rest for 5 minutes before rolling for easier handling.


In a large pot or deep fryer, heat several inches of vegetable oil to 375 degrees.

Roll out dough on a well-floured board until 1/4-3/8 in thick.  cut with a 2 inch doughnut cutter.

You don't need to roll it out on a board, and we found it easier to pat it down to the thickness we needed rather than rolling.  Just put some flour on the top because it is VERY sticky.


This is about how thick it needs to look.


If you have a donut cutter, great!  Use that.  If not, we used a mason jar lid (the smaller ones) to cut it out.


And then to make it so you don't have to have donut holes, you can just make the hole with your finger by spinning it around.


Carefully place three or four cut pieces of dough into the hot oil.  When doughnuts start to crack on top, turn.  Cook on the second side until golden and cooked through.


Remove from oil and drain on paper towels.  Repeat until all remaining pieces of dough are cooked.  


Ta-da!


Now for the toppings (is that what they are for donuts?) you can do whatever your heart desires.  For some of ours, we did a glaze by mixing powdered sugar and milk together until you get a consistency you like, then spoon it onto the donuts.


Or you can sprinkle powdered sugar on them.


Or roll them in a mixture of cinnamon & sugar.


The options are endless!


It sure makes a cute plate to give to someone, or keep for yourself.

Enjoy!