Need a fun craft for your kids for the 24th of July? A pioneer clothes pin doll + a wagon for her is perfect for the holiday.
It's easy, fun, fast, and SO inexpensive. Most of the items you probably already have, but if you don't it's super cheap to get the items you need.
What you'll need:
-match box/any box-like item
-fabric scraps
-wire (& pliers)
-hot glue gun
-4 wooden circles/wheels
-clothes pin (for each doll)
-black/brown paint
-lace (like 2" for each doll)
-pipe cleaner
-embroidery thread
Remember how we said that we like to use things around the house to make projects? Well, this time I used an item you'd least expect. If you have a match box, great! If not, go to the bathroom cabinet. You'll be sure to find something.
To start, cut your box so is about the size of a match box.
Then take some fabric and measure/cut out enough to cover the bottom and inside sides of your box. Use a hot glue gun to glue the fabric to the bottom.
*don't glue sides yet*
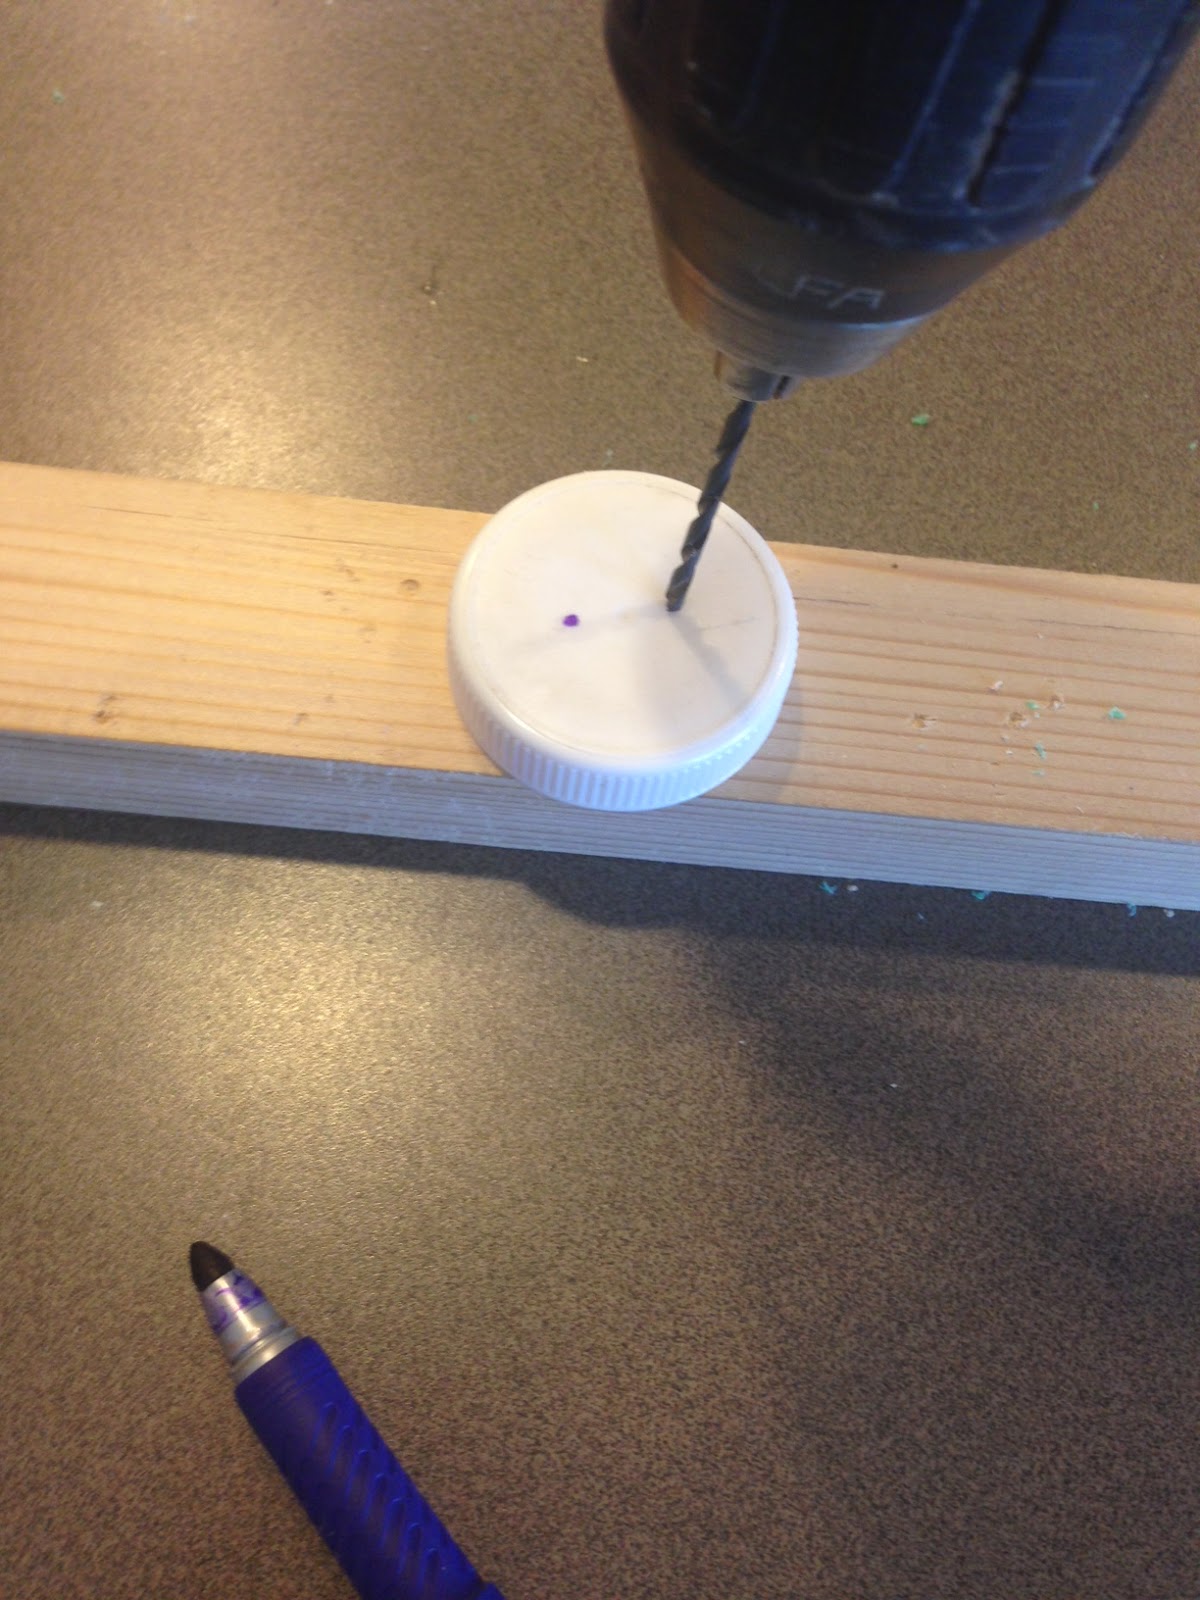
You'll then poke 4 holes (doesn't have to be 4...I just thought 4 sounded good) on each side of your box for the wire to come through.
Then you'll cut 4 pieces of wire (mine were about 8") and poke them through the holes you just made. Then use pliers to bend the ends so that it's secure.
Now glue your fabric to the sides of the box. Make sure to get some glue on each wire...it s will make them more secure.
Now take some more scraps of fabric and just wrap your box in whatever way makes sense to you. I wrapped from one side, across the bottom, and to the other side with one scrap, then used smaller scraps to get the two ends. You can do whatever is easiest for you. Just make sure all your ends are glued down.
Now for the wagon cover. I tore this part instead of cutting it because I liked the look of ragged edges. Make sure you measure it so that it comes down on the sides a little further than your wire, maybe 3/4".
I started to glue in the middle to make sure it was centered. I put a little dot of glue on the very top of each wire and placed my fabric on it. You can then put glue all the way down the rest of the wire (for each side) and secure your fabric, but I found it was easier to do half of each wire and work your way down, so that your glue doesn't dry too quickly.
You're then going to want to glue the end of your wagon cover to the wagon itself.
Now for the wheels! I got this little package of wheels from Bennion Crafts and you can find them at any craft store. I just put hot glue on half of each wheel so that it would sit a little bit above the ground.
And there you have your wagon!
And now the dolls! I didn't snap a picture of the clothes pin before I started, but I started out by painting the very bottom of the pin brown for her shoes, but you can do this in any order you want to. You can also put a couple dots of paint for eyes right now, but I waited until after I put her bonnet on.
After/before painting the shoes/eyes, print off the FREE pattern here.
Cut out her dress and little apron and put it on her like this.
You then glue each side together, starting with the arms. Try to make sure the pin is facing the right direction in case you glue the fabric right to the wood.
Cut a piece of pipe cleaner the size of her arm span and thread it through her arms.
Once the dress is glued together, take the apron and glue the very top of it about where the arms start. You can also glue the whole apron to the dress, whichever you prefer.
Now for the lace! I bought this from Walmart and it was .30 for 12" of it. You only need a couple inches for each doll you make, if that. You can use whatever you prefer, but since this one was pretty big for a small doll, I cut the top part off to make it smaller. Then cut a little piece and glue it to her head for a bonnet, as well as a little piece on top of her apron.
The last step is to tie a little piece of embroidery thread on the end of her arms, just to make it a little cuter.
Now you've got yourself an adorable little pioneer doll!
If you want to make the wagon a little more homey for your doll, you can make a pillow and blanket in about 10 seconds. All you need to do is cut out a square of fabric for the pillow, fold it in half, glue all the ends except one, stuff it with cotton balls (I didn't have any cotton balls...so I used an old baby sock. Worked like a charm) and glue the last end together.
For a blanket, just cut a piece however big you want, and don't do anything to it! Can't get easier than that.
Now go crazy and gather up all your tampon boxes, match boxes, and clothespins and start making some pioneer dolls! Have a happy 24th of July!


.JPG)
.JPG)
.JPG)
.JPG)
.JPG)
.JPG)
.JPG)
.JPG)
.JPG)
.JPG)
.JPG)
.JPG)
.JPG)
.JPG)
.JPG)
.JPG)
.JPG)
.JPG)
.JPG)
.JPG)
.JPG)
.JPG)
.JPG&container=blogger&gadget=a&rewriteMime=image%2F*)
.JPG)
.JPG)
.JPG)
.JPG)
.JPG)
.JPG)
.JPG)
.JPG)
.JPG)
.JPG)
.JPG)
.JPG)

.JPG)


.JPG)